Hello there, I'm Susannah creator of Verity Hope vintage childhood dolls and kits.
 |
| Susannah |
In this short post I'm going to show you a selection of step by step images of how I make larger Verity Hope dolls, it's not a complete tutorial but I hope they'll inspire you to have a go at doll making yourself, it's really very easy and most rewarding. The following doll stands about 18cm (7") high and her clothing is cut from wool felt.
SO LET'S SEE...
This is what she'll look like when finished...
I started off by making the bendy armature out of pipe cleaners which I then wrapped with 100% wool yarn just like they used to do during the make do and mend war years.
Do you remember Grecon dolls? They were made in the same way.
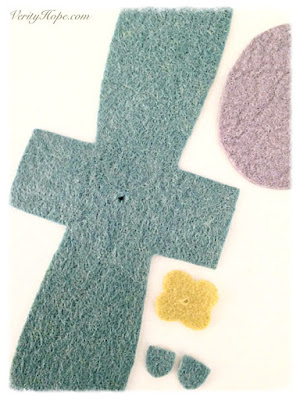
Her clothing was cut from wool felt...
Here are the bits sewn on...
Then I made a small hole in the collar, placed it over the neck and hand stitched up the sides.
I used blanket stitch because I wanted to make the stitching a feature.
Once the felt head was completed (I embroidered her eyes and mouth) and glued in place, the hair was added. First at the front...
And then all over the back...
Finishing with thread at each side to form bunchies...
Finally I made a little beret...
And here she is all finished... a new little character!
So that was really quite simple wasn't it...
If you'd like to have a go at making a similar doll there is a digital pattern tutorial which takes you through the steps in more detail and contains a pattern template for the clothing and face.
Thank you for visiting and I hope you feel a little bit inspired now to give this easy vintage technique of doll making a go!
Happy days to all those who still play!
Susannah x


No comments:
Post a Comment