Hello, I'm Susannah and welcome to my doll blog.
In the last blog post (
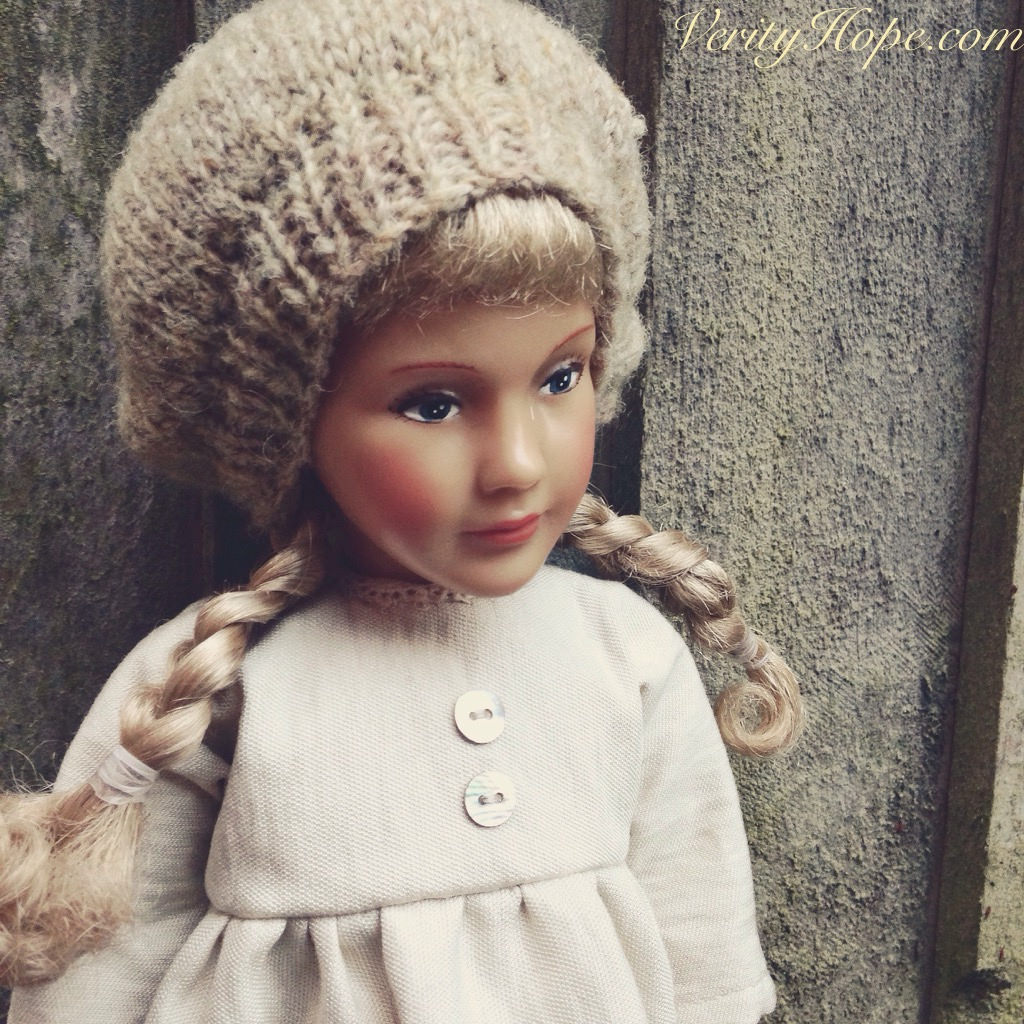
here) I introduced my love of Sasha dolls and how Sasha Morgenthaler the founder of Sasha dolls became the inspiration behind this latest Swiss cloth doll project I've been working on. Meet Liesel...
Liesel is made from a vintage doll kit by Swiss firm Bernina, a well respected manufacturer of sewing machines.
Liesel's head with painted face came ready made which was part of the appeal for purchasing the kit and her wig is made from real human hair (a bit of a freaky thought at first) but it's a beautiful quality and I can see why people use real hair for doll wigs after stroking hers.
The high quality Swiss tricot fabric came with the body pattern already printed on, so this was a great time saver.
I thought her legs were slightly on the chunky side so re-drew the leg line to slim them down and I also straightened them up a bit...
The arms and legs were also a bit on the short side (always prefer longer limbs on dolls) so managed to squeeze another centimentre or two to the tops before starting...
Even though the fabric is stretchy, I wanted the finished doll do be as firm as possible when stuffing, so before stitching, went over the pattern lines with felt pin (making sure it wasn't the type of ink that seeps through the fabric, we don't want that!) then ironed on some fusible interfacing fabric. This made the tricot just stiff enough to hold its structure but still allow for some dolly softness.
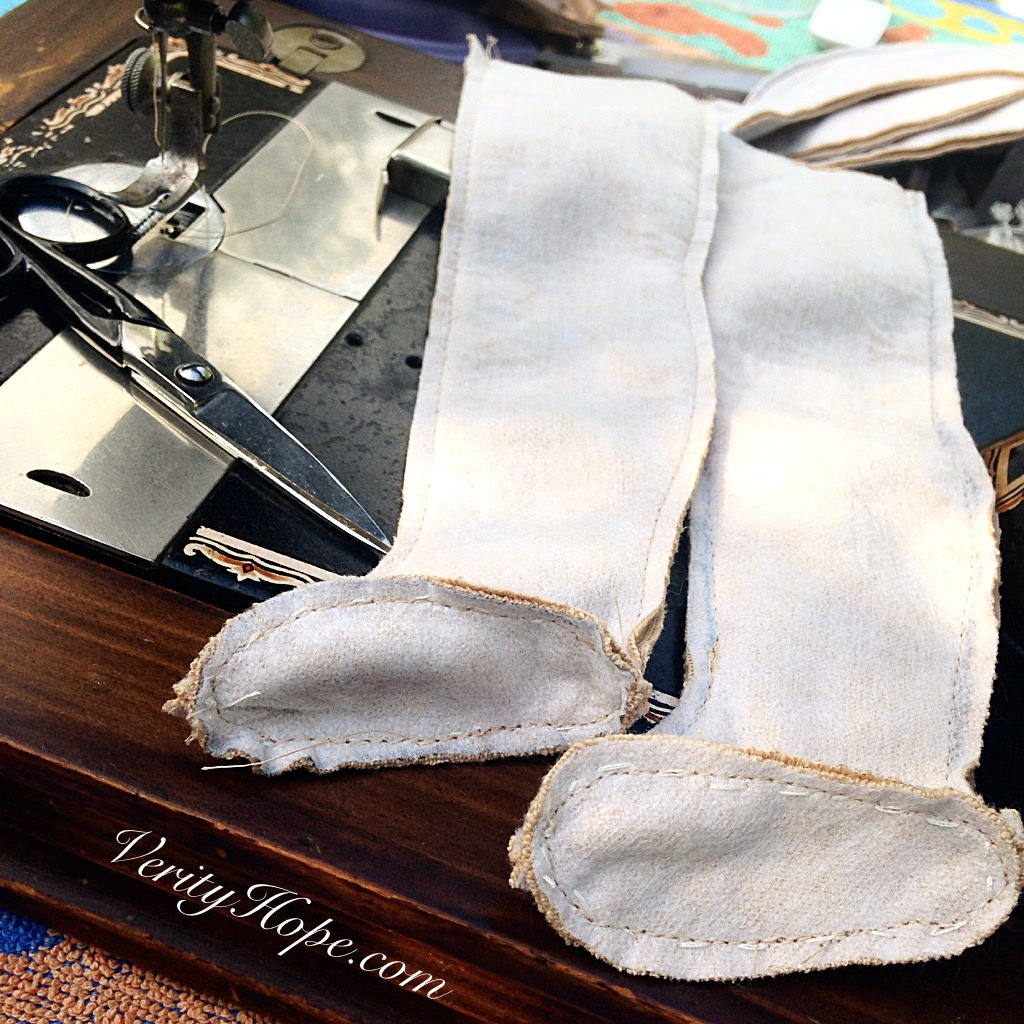
Next came the stitching part. I placed the fabric right sides together and used my beloved 80 year old Vickers hand-crank sewing machine to do all the stitching. I just adore using this old machine, not only because it feels nostalgic when I use it, but because on a hot summer's day I can bring it out to the garden and happily sew away under the sunshine. Who needs electricity when you have elbow power! It's beautiful to control too being a gentle hand-crank.
After stitching along the lines I had to cut the pieces out leaving 1/2 cm seam allowance. I use this same method for making my own range of cloth dolls, it's much easier than trying to cut the small shapes out first and line them up.
The foot soles didn't need to be stitched as these were to be added next after cutting out...
Ooh! now for the exciting part... time for turning out!
BUT STOP! Since it was such a hot sunny day, it was the perfect excuse to stop and make self a trusted Italian concoction....
50% Prosecco
50% Soda water
A splash of Campari (be generous)
Slices of oranges
Highly recommended!!
Cheers...
So back to Liesel... here's a little hand emerging... exciting!!
And these really long tweezers are one of my most treasured pieces of doll making tools, just wish I could remember where I bought them from...
Ooh look... Such pleasure in making things and seeing a doll beginning to emerge!!
I'm going to stuff her with 100% wool fibre which I bought a few years ago for needle felting but never got round to using. It'll be the perfect natural filler and keep her nice and warm...
Good thing using natural wool fibre is that I could really make the stuffing firm using a felting needle, especially around the neckline...
It's such a lovely well produced kit so of course the neckline fitted beautifully with the neck/head.
I simply had to hand stitch them together...
Voila! Liesel's first glance at the big wide world!!
Look out for the next blog post when I'll be finishing her. In the meantime another wonderful Sasha doll book popped through the post (remarkable how that happens)... This one is:
Sasha Morgenthaler. Sasha - Puppen / Sasha Dolls by Till Schaap.
It has beautiful photos of Sasha Morgenthaler's studio dolls plus a little background both in German and English. Very inspiring clothing images for Liesel's dress I'll be making soon too!
Here are some page snippets... Enjoy!
See you next time and in the meantime check out my miniature doll kits from the links in the sidebar. They're really fun to make and can be completely hand stitched.
Happy days to all those who still play!
Susannah x